
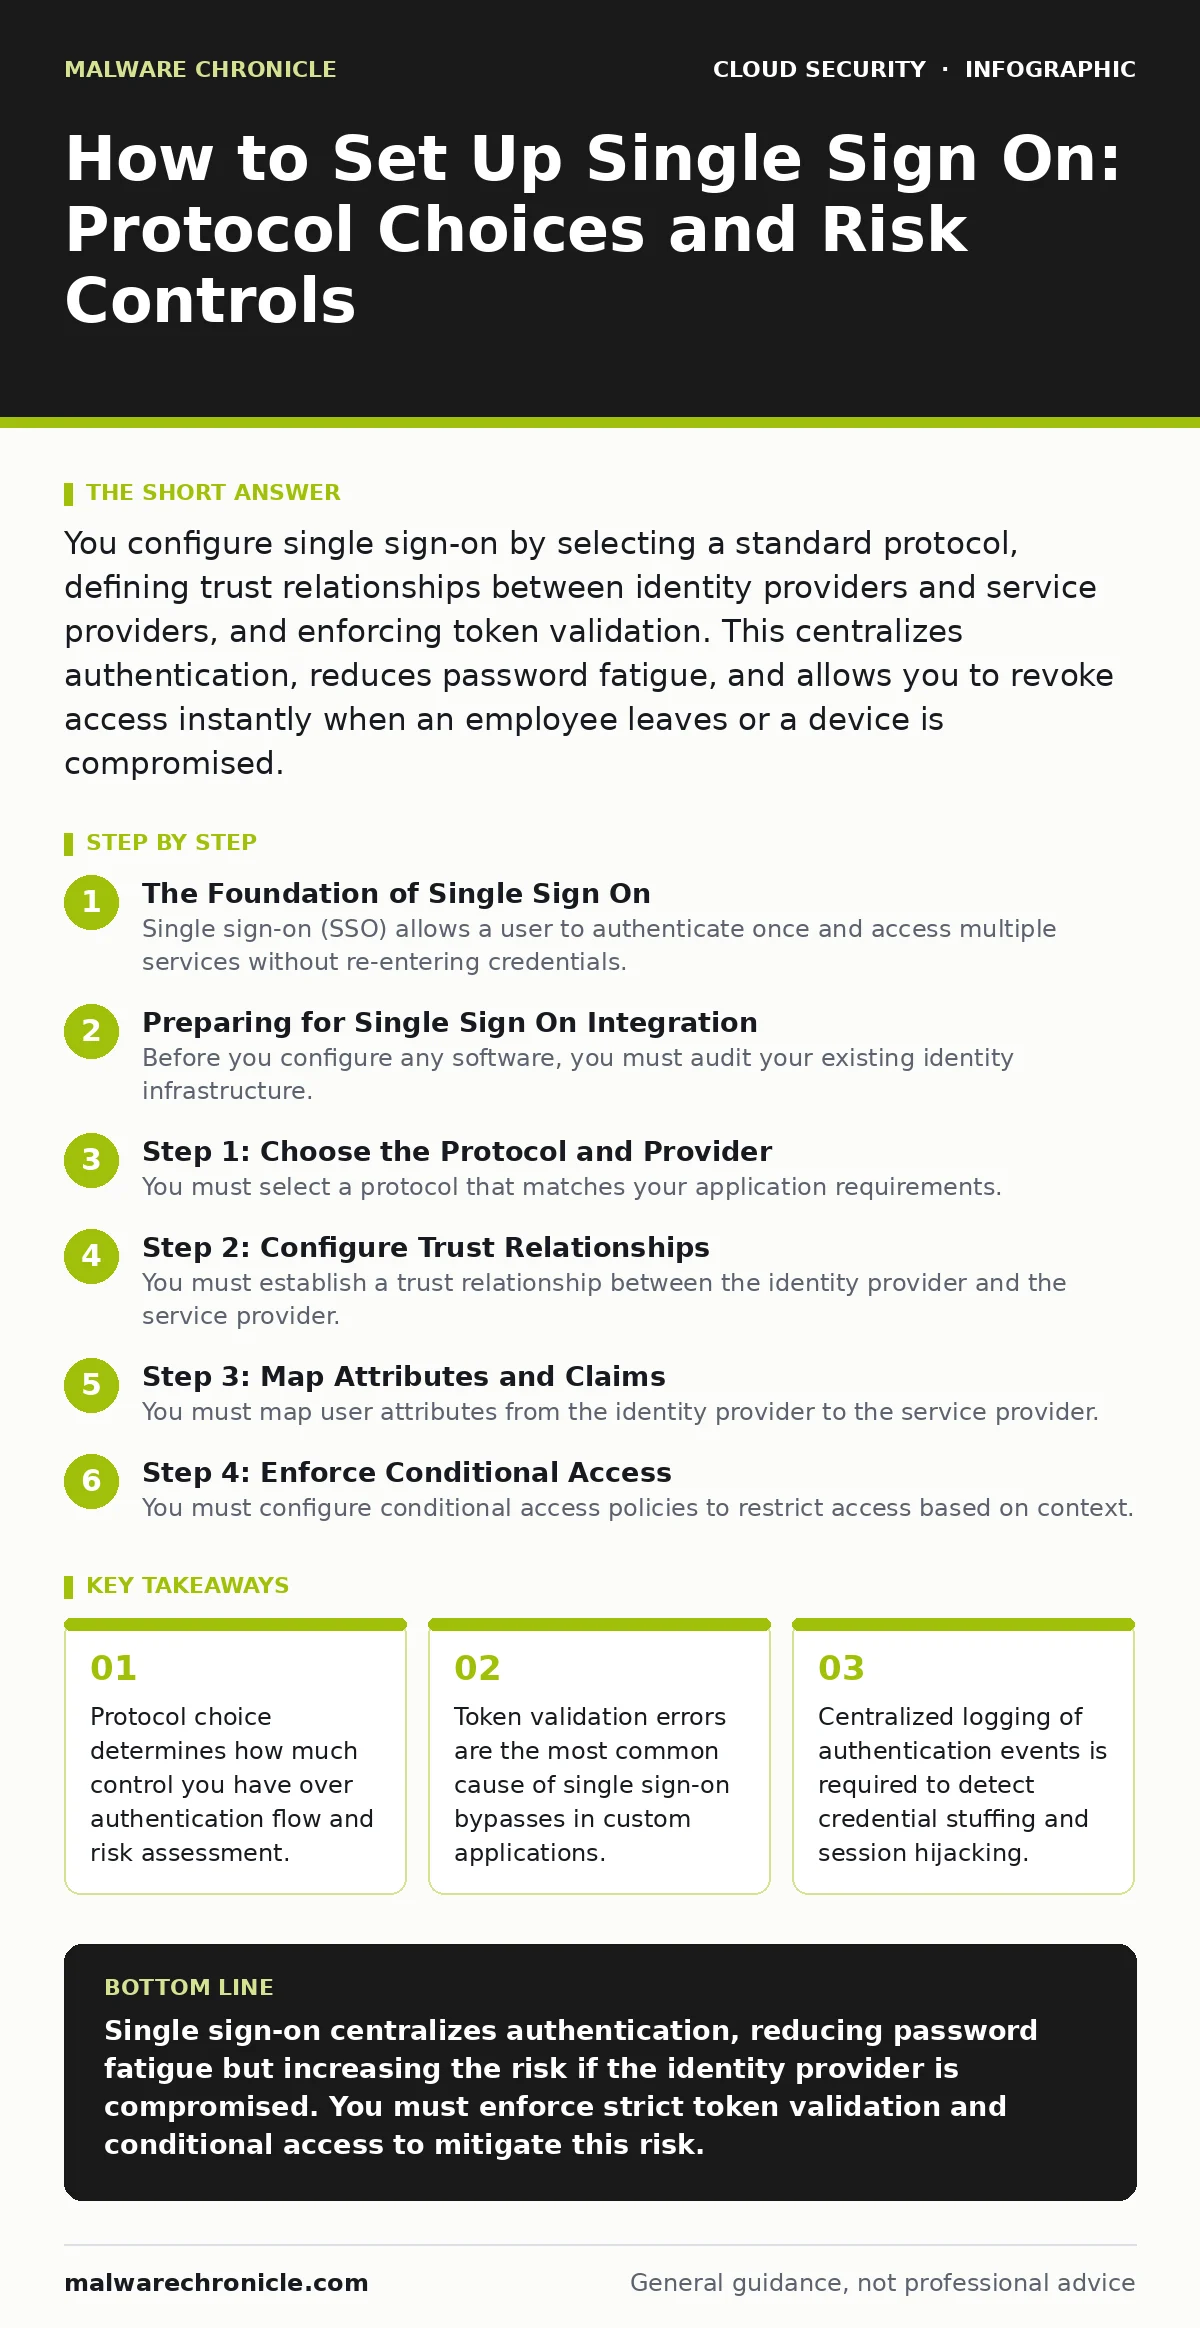
You configure single sign-on by selecting a standard protocol, defining trust relationships between identity providers and service providers, and enforcing token validation. This centralizes authentication, reduces password fatigue, and allows you to revoke access instantly when an employee leaves or a device is compromised.
The Foundation of Single Sign On
Single sign-on (SSO) allows a user to authenticate once and access multiple services without re-entering credentials. This mechanism relies on an identity provider (IdP) that issues tokens and service providers (SPs) that accept them. The goal is to reduce the attack surface by eliminating shared passwords and weak authentication methods across disparate systems.
You must understand that SSO does not mean single access. It means single authentication. The identity provider verifies who you are, while the service provider decides what you can do. This separation is critical for security. If the identity provider is compromised, every connected service is at risk. If a service provider is compromised, the identity provider remains secure. This architecture requires careful configuration of trust boundaries.
Preparing for Single Sign On Integration
Before you configure any software, you must audit your existing identity infrastructure. You need a reliable directory service that stores user attributes accurately. Inaccurate data leads to access errors and security gaps. You must also decide which protocol to use. Security Assertion Markup Language (SAML) is common for enterprise applications. OpenID Connect (OIDC) is preferred for mobile and web applications. OAuth 2.0 is an authorization framework, not an authentication protocol, but it is often confused with OIDC.
You should review your related security controls. If you use cloud-native security practices, you must ensure your identity provider integrates with your cloud environment. If you have overprivileged cloud identities, SSO will not fix the underlying permission issues. It only changes how users log in. You must also consider policy as code to automate the enforcement of access rules. This ensures that new users receive the correct permissions automatically.
Step 1: Choose the Protocol and Provider
You must select a protocol that matches your application requirements. SAML is XML-based and complex. It is suitable for legacy enterprise applications. OIDC is JSON-based and lightweight. It is suitable for modern web and mobile applications. You must also choose an identity provider that supports the chosen protocol. The provider must offer multi-factor authentication (MFA) and conditional access capabilities.
You verify this step by checking the provider’s documentation for protocol support. You must ensure the provider supports the specific version of the protocol your application requires. For example, some applications only support SAML 2.0. Others require OIDC with specific scopes. You must also check that the provider supports token signing and encryption. This ensures that tokens cannot be tampered with or read by attackers.
Step 2: Configure Trust Relationships
You must establish a trust relationship between the identity provider and the service provider. This involves exchanging metadata. The metadata contains information about the endpoints, certificates, and entity IDs. You must import the identity provider’s metadata into the service provider. You must also import the service provider’s metadata into the identity provider. This allows the two systems to communicate securely.
You verify this step by testing the metadata exchange. You must ensure that the certificates match. You must also ensure that the entity IDs are correct. If the entity IDs do not match, the authentication will fail. You must also configure the redirect URIs. These are the URLs where the identity provider sends the user after authentication. You must ensure that these URLs are secure and not accessible to attackers.
Step 3: Map Attributes and Claims
You must map user attributes from the identity provider to the service provider. Attributes include user ID, email, and role. Claims are the data passed in the token. You must ensure that the service provider receives the correct claims. If the claims are incorrect, the user may not have access to the application. You must also ensure that the claims are encrypted if they contain sensitive data.
You verify this step by logging in with a test user. You must check the token payload to ensure that the claims are present and correct. You must also check that the service provider interprets the claims correctly. For example, if the identity provider sends a role claim, the service provider must map it to a local permission. If it does not, the user will not have access.
See also: Configuration Drift Mechanics: How Security Posture Decays Over Time
Step 4: Enforce Conditional Access
You must configure conditional access policies to restrict access based on context. Context includes location, device health, and risk level. You must ensure that users can only access the application from trusted locations and devices. You must also ensure that users with high-risk scores are blocked or required to re-authenticate. This reduces the risk of credential stuffing and account takeover.
You verify this step by testing with different scenarios. You must log in from a trusted location and device. You must also log in from an untrusted location. You must ensure that the policy blocks access or requires additional verification. You must also check that the policy does not block legitimate users. This requires careful tuning of the risk thresholds.
Verification Checklist for Single Sign On
You must verify that single sign-on works correctly before deploying it to all users. You must use a checklist to ensure that all aspects of the configuration are correct. This checklist helps you identify issues early and prevent security gaps. You must test with multiple user roles and devices. You must also test with different browsers and operating systems.
- Metadata exchange is successful and certificates match.
- Entity IDs and redirect URIs are correct.
- Attributes and claims are mapped correctly.
- Conditional access policies are enforced.
- Token validation is strict and secure.
- Logging captures all authentication events.
- Users can log in and out successfully.
- Session timeout and revocation work as expected.
Upkeep and Monitoring of Single Sign On
You must monitor your single sign-on configuration continuously. You must review logs for suspicious activity. This includes failed login attempts, unusual locations, and high-risk scores. You must also review access grants and revocations. You must ensure that users who leave the organization have their access revoked immediately. You must also ensure that users who change roles have their permissions updated.
You must also keep your software updated. This includes the identity provider, service provider, and any middleware. You must apply security patches promptly. You must also review your conditional access policies regularly. You must adjust them based on new threats and business requirements. You must also test your configuration periodically to ensure that it still works correctly.
Common Pitfalls in Single Sign On
You must avoid common pitfalls when setting up single sign-on. One pitfall is using weak encryption for tokens. This allows attackers to read or modify the tokens. Another pitfall is not enforcing multi-factor authentication. This allows attackers to access accounts with stolen passwords. Another pitfall is not monitoring logs. This allows attackers to operate undetected.
You must also avoid configuring single sign-on for all applications. Some applications may not support the chosen protocol. Others may have specific security requirements. You must evaluate each application individually. You must also ensure that your identity provider is highly available. If it goes down, users cannot access any connected services. You must have a backup plan in place.
Key takeaways
- Protocol choice determines how much control you have over authentication flow and risk assessment.
- Token validation errors are the most common cause of single sign-on bypasses in custom applications.
- Centralized logging of authentication events is required to detect credential stuffing and session hijacking.
Single sign-on centralizes authentication, reducing password fatigue but increasing the risk if the identity provider is compromised. You must enforce strict token validation and conditional access to mitigate this risk.
Frequently asked questions
Can single sign-on protect against phishing attacks?
Single sign-on does not prevent phishing. Attackers can still trick users into revealing their credentials. You must use multi-factor authentication and security awareness training to protect against phishing.
What is the difference between SAML and OIDC?
SAML is an XML-based protocol for enterprise applications. OIDC is a JSON-based protocol for web and mobile applications. OIDC is simpler and more modern.
How do I revoke access in single sign-on?
You revoke access by disabling the user account in the identity provider. The service provider must check the token’s validity and revoke the session.
Is single sign-on secure for remote work?
Single sign-on is secure for remote work if you enforce conditional access policies. You must restrict access based on location, device health, and risk level.
How this guide was produced: written by the Malware Chronicle editorial team with AI assistance, checked against the public references listed below, and reviewed when the facts change. See our editorial policy or report an error.